Start JupyterLab in Galaxy
Contents
Start JupyterLab in Galaxy
Join the private queue and resources for the course
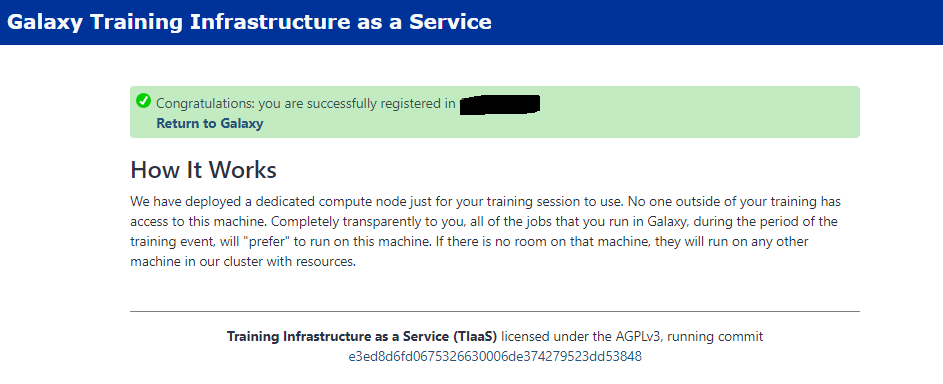
The Training Infrastructure as a Service (TIaaS) of Galaxy Europe provides a private queue for your training in addition to the regular one, which should make your jobs run a bit faster. To make use of it, we have created a training group that is valid from 1st November until 21st November 2021. Outside this period, you can skip this step.
Open a new window/tab in your browser, login to https://usegalaxy.eu using the same username and password you have created for Galaxy Europe.
Go to the link sent by your instructors (it starts with
https://usegalaxy.eu/join-training/and then the group identifier of your training. Be aware that the link will only be effective from November 1st to November 21st 2021.
Start Galaxy Climate JupyterLab
Login to https://live.usegalaxy.eu/login
Scroll down and select Pangeo Jupyter

Click Execute
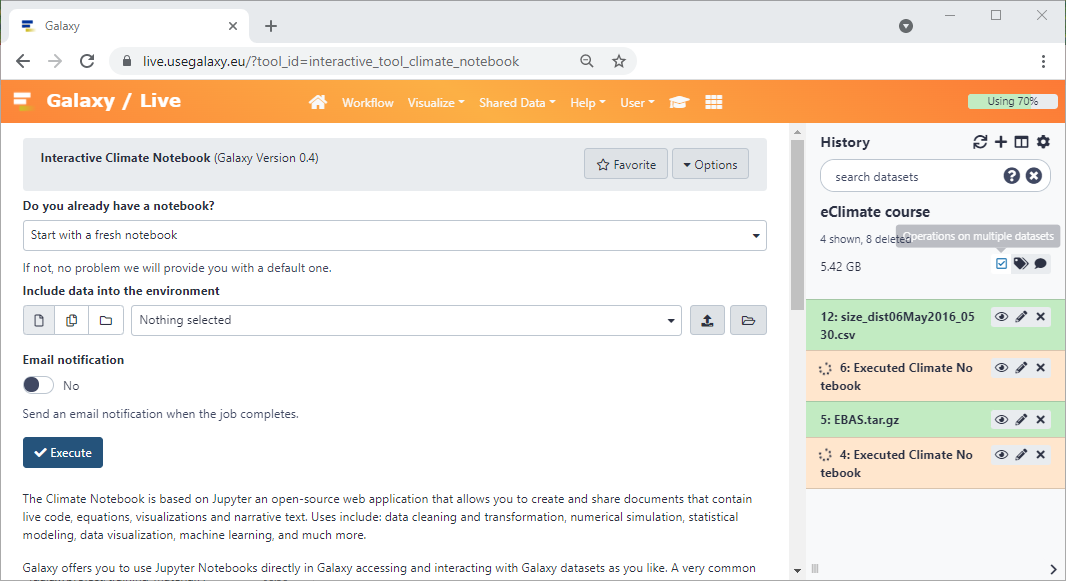
The tool will start running and will stay running permanently (during 2-3 weeks depending on the load)
Find your Galaxy instance
Click on the “User” menu at the top and go to “Active Interactive Tools” and locate the JupyterLab instance you started.
Open your instance (which you created in the previous step here). If you’ve closed it, you can open it again by going to live.usegalaxy.eu clicking “User”–>”Active Interactive Tools” and then clicking on the notebook.
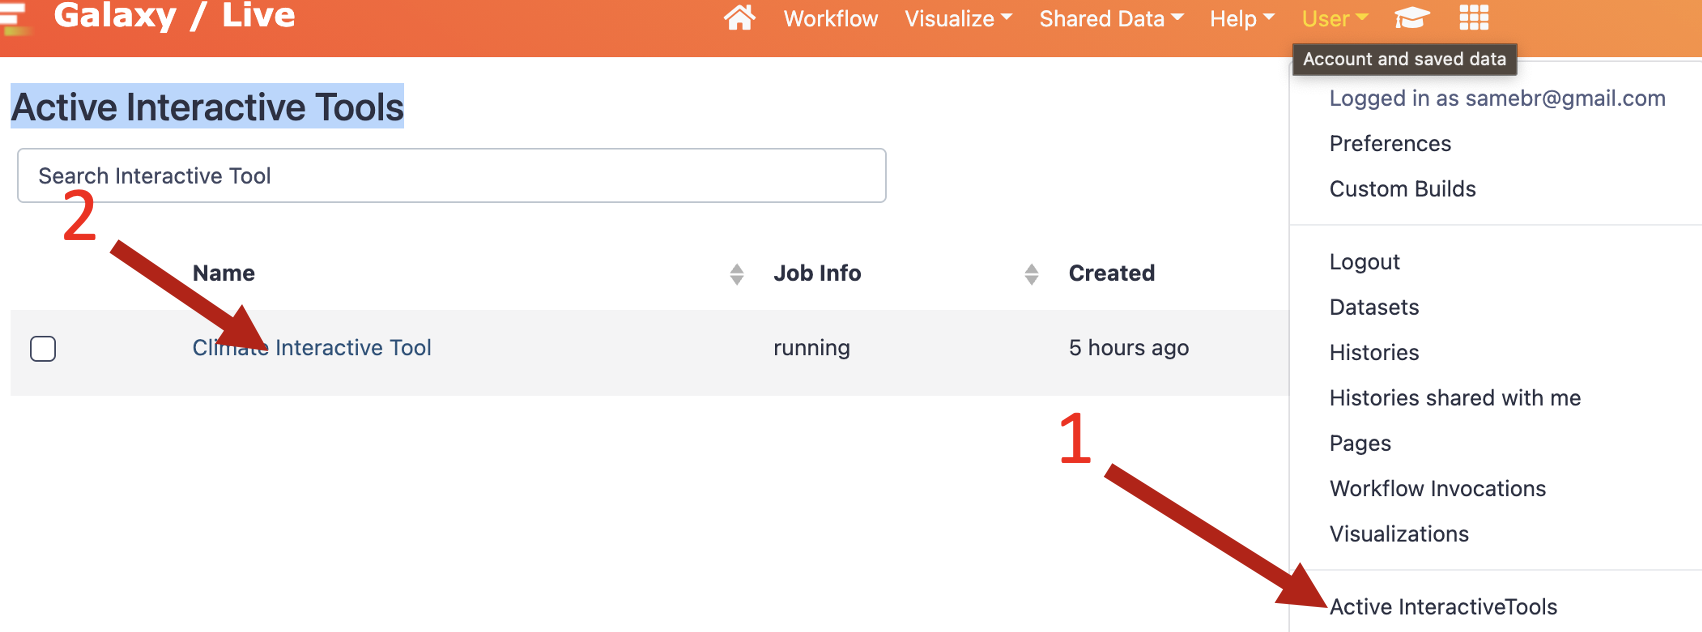
Click on your JupyterLab instance (please note that it may take a few minutes before you can click on the link to your jupyterLab instance).
Warning
NOTE: Your JupyterLab instance will be active during 2-3 weeks depending on the load of the machines. However, if you are inactive or in case of hardware issues, it may be shutdown and you may loose your work. We strongly suggest to save very regularly your work to avoid any surprises! The best is to use git and github to save your jupyter notebooks and other programs. For data, make sure you learn how to save data in a shared folder (s3 object storage). The next section on How to work during the course will give you more practical information on how to save your codes and data.
Create new Jupyter notebooks
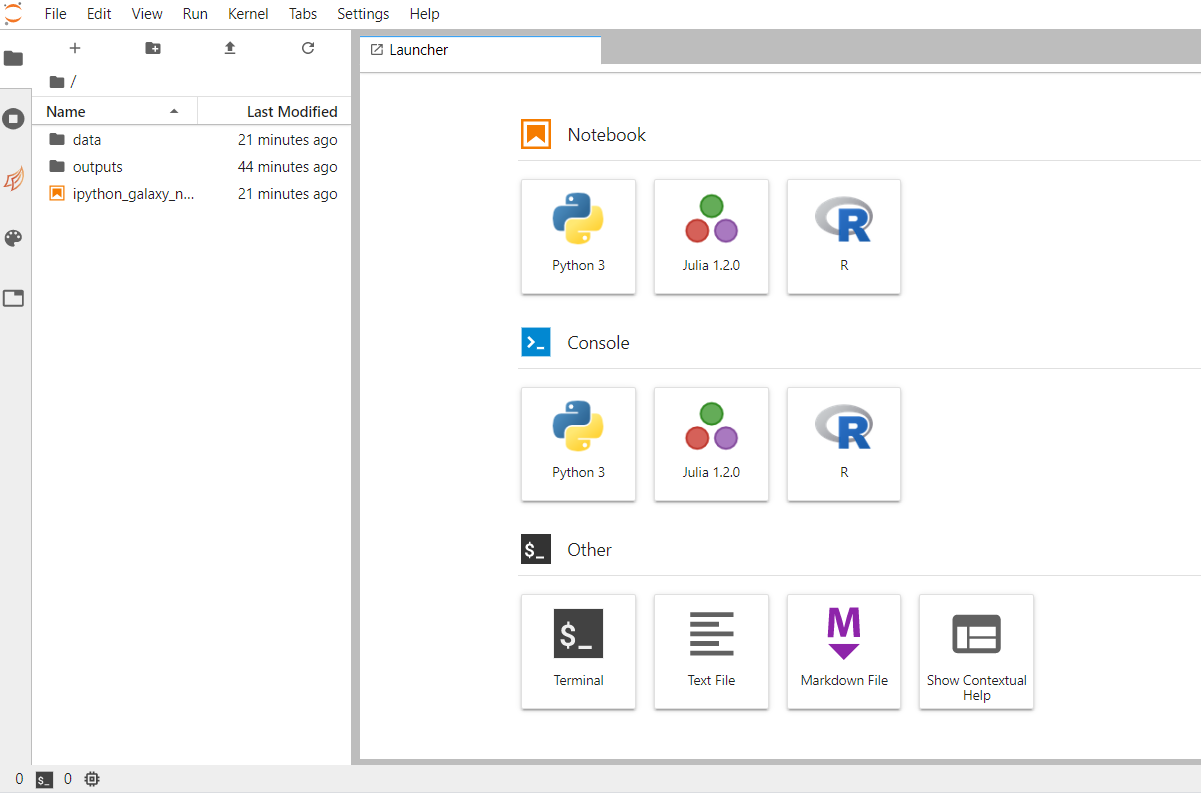
Create a notebook by clicking the `+`` button in the file browser and then selecting the pangeo kernel in the new Launcher tab:

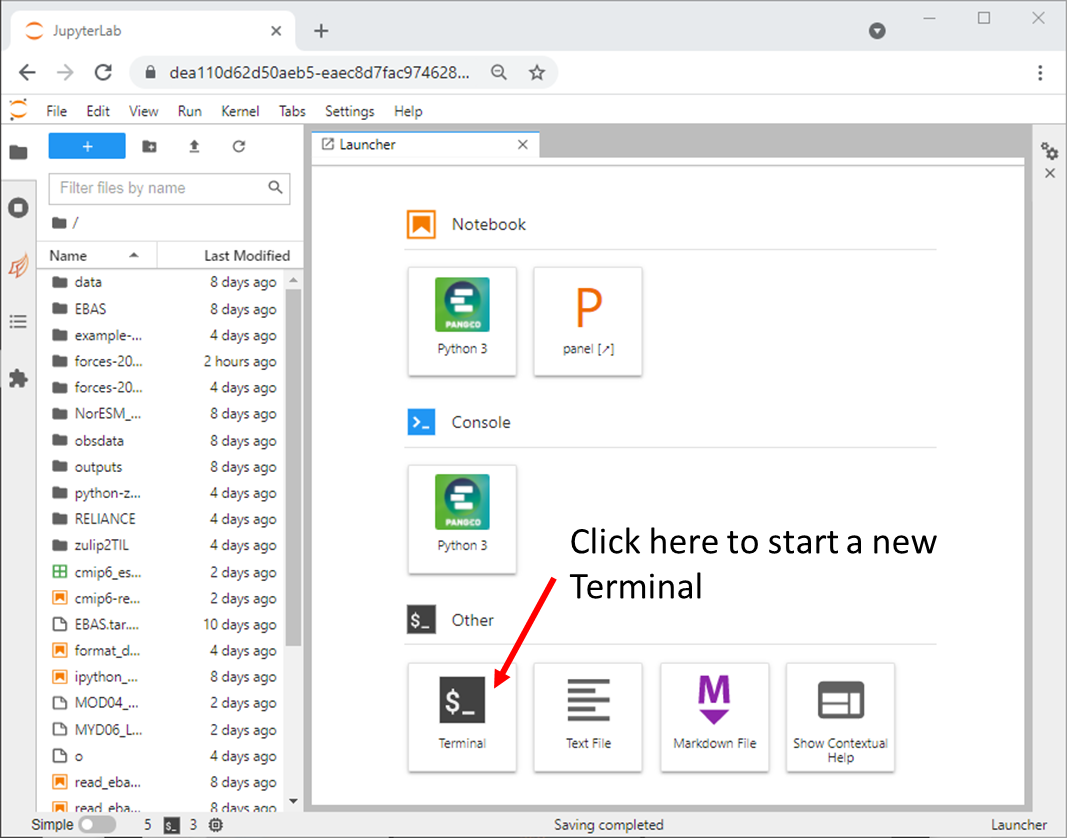
Start a new Terminal
You may need to execute commands from a Terminal (for instance to add new packages as shown below or to execute python scripts).
To open a new terminal, click the + button in the file browser and select the terminal in the new Launcher tab:
Customize your JupyterLab Galaxy instance (optional)
Your galaxy JupyterLab instance is now like your own computer for the next weeks.
Adding new packages (optional)
It already has quite a lot of packages installed, but if you want to install more, you can do this:
if you need to install a simple package, use
piporconda.pipwill be must faster but sometimes can messed up your environment:pip install my-package
or with
conda:conda install -c conda-forge my-package
where
my-packageis the package you wish to install.if you need to install many packages and/or a conflict arose when trying to install a package, you can create a new conda environment and make it available from the JupyterLab (here we install python version 3.9, scipy, dask and h5netcdf):
conda create --name myenv python=3.9 scipy dask h5netcdf
conda activate myenv
ipython kernel install --name "myenv" --user
myenvwill appear as a new kernel (and you need to select it to use it in your jupyter notebook).
Adding in 3rd party extensions (optional)
Jupyter has some nice extensions which you might want to include. To add these, do:
in the sidebar click on the puzzle icon
enable third party extensions
install the ones you need Many are already included though.
JupyterLab documentation
The JupyterLab documentation is quite exhaustive. You may want to focus first on the User guide section.